

While looking through bags of scrap fabric in my basement I ran across this beautiful material of my daughters and I thought it would be perfect for this quilting project that I had been wanting to try. This fabric has been down there for years so I don't think she will miss it but if she does recognize it that's alright because I am making this for her. Don't tell her! I have not used this method of quilting before but it looks pretty simple so I am going to give it a try. Let's get started!

When making a "quilt as you go" project, I think it's important to use material that is not going to stretch easily. Typically material that is 100% cotton or of a more durable strength will give you the best look when you are all done.
I am going to be making a table runner with this material so I have decided on a length and width for the whole project. I first cut the backing to the size I wanted and lay it face down on my work table after washing and pressing (ironing) it. I have said this before but I will say it again. It is important to wash and press your material before starting a project so that I has done all the shrinking it is able to do before you start. Unless it is a dry-clean only fabric and then I would just make sure you press it with a low temperature iron. I chose this plaid piece of material for the back because I had more of it then the floral material.

I then cut the batting the same size as the backing, laid it on top of the backing and then pinned the two together so that there wouldn't be any slippage. I used 100% cotton batting that I also had in my basement. Make sure the top edge of the backing and the top edge of the batting line up. It is important that you make sure that not only the edges match up but that they don't move.
For this project I only used two different types of fabric. The plaid was for the back of the runner and also for strips on the front and then the floral was for the other coordinating strips on the front. I cut all of the strips of fabric 2 1/2 inches wide and made sure that they were long enough to catch the batting and backing on the other side. When cutting the width of each strip, you can cut different sizes to make it fun but if you prefer a more uniform pattern, cut your strips all the same width making sure that when you have all your strips cut out, they equal the length of the batting. Otherwise you will have one strip that is not the same size as the others.

Take your first strip and lay it face up on top of the batting and backing and pin it the 3 pieces together. Sew a 1/4 inch seam all the way across the top of the runner or quilt. Here you do not need to back stitch as you will be putting a border all the way around later.

Lay your material out again and make sure that all the pieces are laying flat. Take another strip and lay it face down (right sides together) on top of the last strip you stitched. Pin and then sew a 1/4 inch seam all the way across the quilt as you did with the last strip. Again, you do not need to back stitch here.
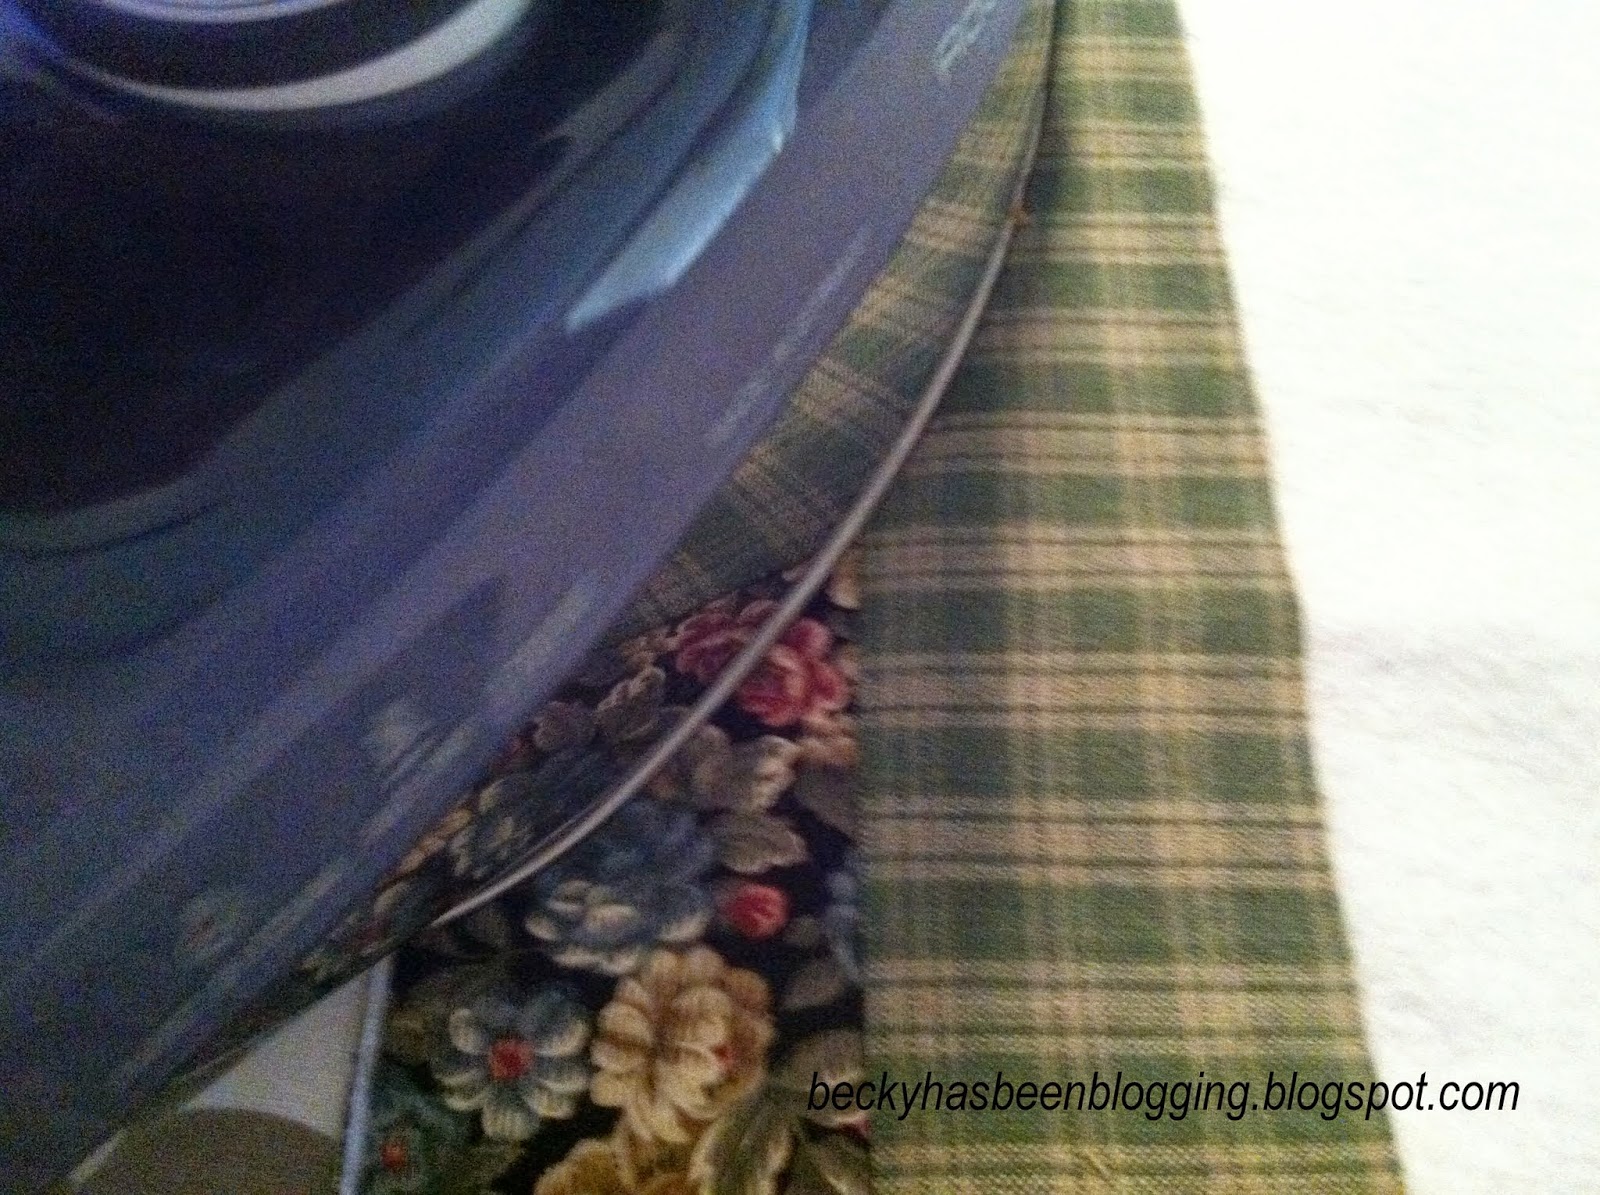
Pull the strip down that you have just sewn on and press it open so that the top of that strip is now facing out.
Take another strip and lay it face down or right sides together with the last strip you just ironed and pressed and pin it down matching up the edges. Sew a 1/4 inch seam from one side to the other.

Pull the strip down that you have just sewn on and press it open so that the top of that strip is now facing out. Continue this process until you get to the end of the runner or quilt.
Pin down your last strip and sew a 1/4 inch seam along the bottom of the quilt and then cut off the excess material and batting leaving a 1/4 inch seam along the bottom.

To cut the ends of the runner or quilt, line up your quilting ruler making sure that the seams match up with the lines on the ruler before cutting a straight edge on both sides of the quilt.
Make sure that as you are sewing that you are keeping all the pieces straight, flat and even that you are sewing through. If you don't, you will be sorry when you get to the end!

Now all you have to do is add binding all the way around and you are done! Does this look like the funnest thing to sew? Well it is and it was so fast to put together. You can whip up a cute baby quilt with this technique in no time and have a beautiful handmade gift for someone special in your life and it really doesn't cost much - especially if you have a material store in your basement like me! I don't really have that much but I have decided I am going to figure out what to do with everything that is down there because it's time for it all to go!
Happy Sewing, friends!
No comments :
Post a Comment